2026-05-04
Editable DataTables in Shinylive on GitHub Pages with Cloudflare D1
In a 2019 tutorial I described how to make an editable DataTable in R Shiny with entries stored in a local SQLite database. This post is the Shinylive version of that idea: the same Add, Edit, Copy and Delete table, but the app is exported as a static site, hosted on GitHub Pages, and the rows are stored in a Cloudflare D1 database.
A static page cannot safely hold a database password, so the database sits behind a small server-side API. Cloudflare D1 stores the rows. A Cloudflare Worker exposes a few HTTP endpoints for reading and writing them. The browser only ever calls the Worker.
This setup suits tutorials and prototypes. The shared secret that gates the Worker is included in the static bundle, so anyone who opens the browser dev tools can read it and call the Worker themselves. For production data, replace the shared secret with per-user authentication and add rate limiting.
The full source is on GitHub and the live demo is at nvelden.github.io/shinylive-d1-datatable.
Browser (https://you.github.io/shinylive-d1-datatable/)
   │   fetch with X-API-Key header
   ▼
Cloudflare Worker (CORS + shared secret)
   │   env.SQL_TABLE_DB binding
   ▼
Cloudflare D1 database
Prerequisites
- R, with
install.packages(c("shiny", "DT", "shinyjs", "shinylive")) - Node.js 22+
- A free Cloudflare account
- A GitHub account
Clone the project and install the dependencies:
git clone https://github.com/<you>/shinylive-d1-datatable
cd shinylive-d1-datatable
npm install
Then connect Wrangler (Cloudflare's CLI) to your account:
npx wrangler login
Wrangler opens a browser tab on cloudflare.com. Sign in and click Allow. Wrangler stores an OAuth token under ~/.wrangler/config/default.toml and from then on every wrangler command on this machine acts as that account. Confirm with:
npx wrangler whoami
Project layout
app.R                                 # Shiny UI and server, with a JS helper that calls the Worker
worker/src/index.js                   # The Cloudflare Worker, the only thing that talks to D1
worker/wrangler.toml                  # Tells Wrangler what to deploy and which D1 to bind
worker/.dev.vars.example              # Template for the local secret file
migrations/0001_create_responses.sql  # Table schema and seed rows
docs/                                 # Generated by `npm run export`; GitHub Pages serves this
The Worker handles CORS, checks the X-API-Key header, and dispatches GET, POST, PUT and DELETE to D1 queries. The Shiny app calls the Worker with fetch() whenever you click Add, Edit, Copy or Delete. Both files are in the repository and need no changes other than the placeholders called out in the steps below.
Step 1: Create the D1 database
In the Cloudflare dashboard, open Workers & Pages → D1 → Create database. Name it shinylive-d1-datatable.
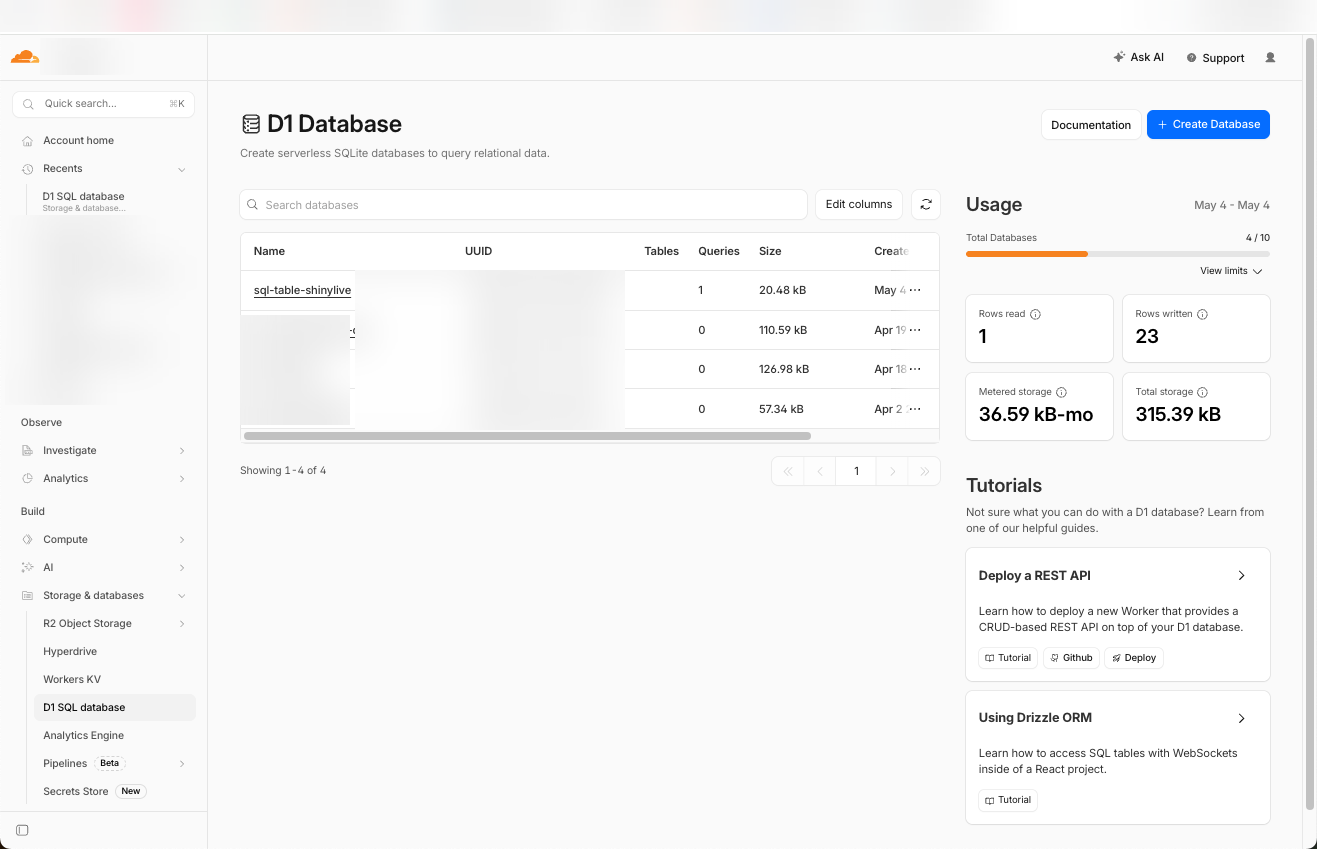
Open the new database and copy its Database ID.

Open worker/wrangler.toml and paste the id in. Set ALLOWED_ORIGIN to the URL GitHub Pages will publish at, with no trailing slash and no path:
[[d1_databases]]
binding = "SQL_TABLE_DB"
database_name = "shinylive-d1-datatable"
database_id = "PASTE_ID_HERE"

[vars]
ALLOWED_ORIGIN = "https://<your-username>.github.io"
The [[d1_databases]] block binds env.SQL_TABLE_DB in the Worker to the D1 database with that id. The [vars] block exposes ALLOWED_ORIGIN to the Worker, which echoes it back in the CORS header so only your GitHub Pages site can call it from a browser.
Note: the same database can be created from the terminal with npm run d1:create. The id still needs to be pasted into worker/wrangler.toml.
Step 2: Create the responses table
On the D1 page, open the Console tab.
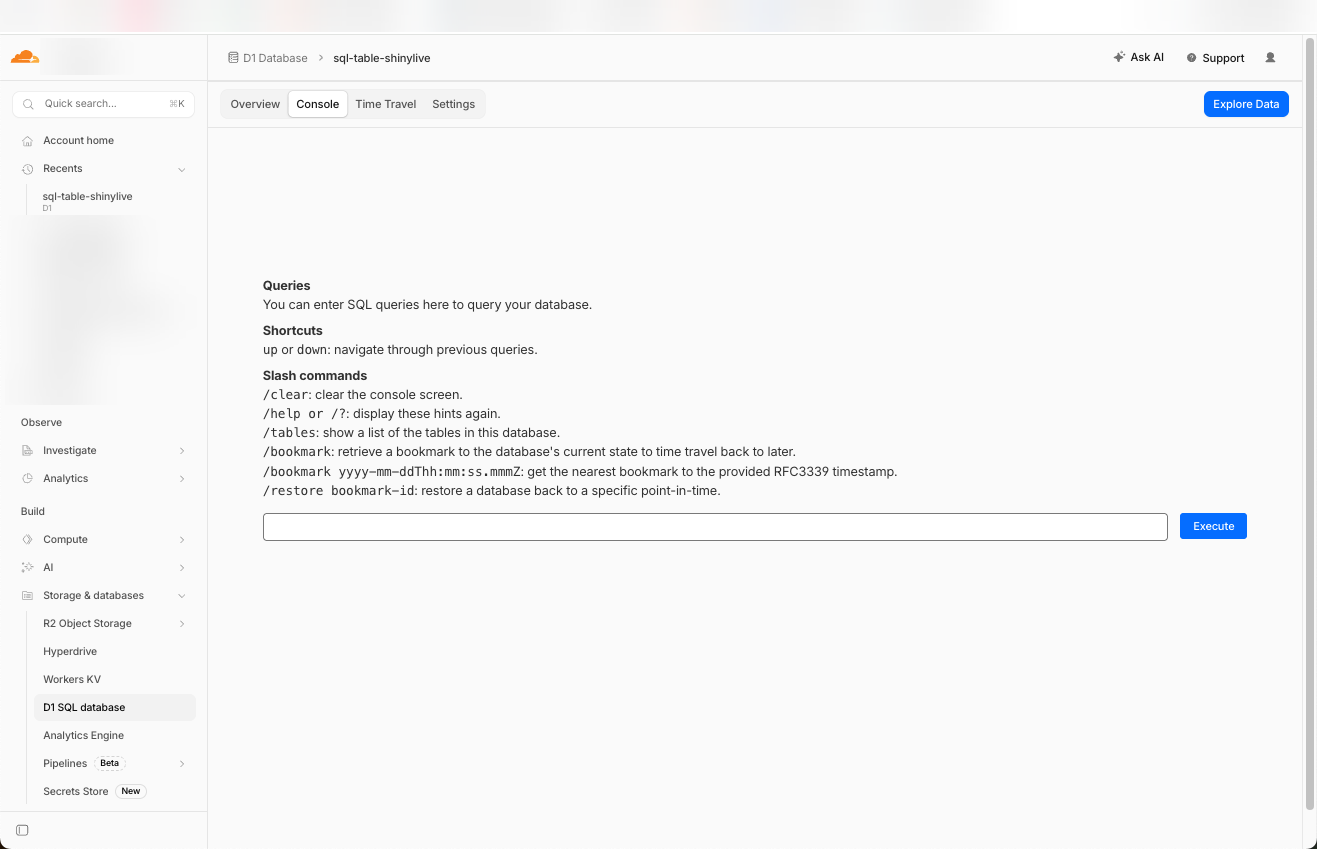
Paste the contents of migrations/0001_create_responses.sql and click Execute. The table is created and the seed rows are inserted. Confirm with:
SELECT * FROM responses;
Run the same migration against the local SQLite file Wrangler uses for development:
npm run d1:migrate:local
Note: the :local script does not touch your Cloudflare account. It writes to a SQLite file at worker/.wrangler/state/v3/d1/ that wrangler dev reads on localhost. The remote equivalent is npm run d1:migrate:remote, which is an alternative to using the dashboard Console.
Step 3: Set the shared secret
Generate a long random string:
openssl rand -hex 32
Store it on the deployed Worker as a Cloudflare secret:
npm run worker:secret
Wrangler prompts for the value and registers it as SHARED_SECRET. The Worker reads it as env.SHARED_SECRET and rejects requests whose X-API-Key header does not match.
For local development, copy the example file and paste the same value:
cp worker/.dev.vars.example worker/.dev.vars
worker/.dev.vars is gitignored.
Step 4: Run it locally
Two processes run at once: the Worker (for the API) and a static server for docs/ (for the page).
In one terminal, start the Worker:
npm run worker:dev
The Worker boots on http://localhost:8787 against the local SQLite file from Step 2.
In a second terminal, generate the static site and serve it:
npm run export        # writes docs/
npm run site:dev      # serves docs/ on http://localhost:8000
Open http://localhost:8000. Add a row, refresh, confirm it persists. The terminal running worker:dev logs every request and the SQL it ran.
Step 5: Deploy the Worker
Deploy the Worker to Cloudflare:
npm run worker:deploy
Wrangler prints the deployed URL:
https://shinylive-d1-datatable-api.<your-subdomain>.workers.dev
Open app.R and replace the two placeholders in the JavaScript helper:
WORKER_URLwith the deployed URL aboveSHARED_SECRETwith the value from Step 3
Re-export so the new values end up in docs/:
npm run export
Step 6: Publish on GitHub Pages
GitHub Pages serves files straight from the repository, so the generated docs/ folder needs to be committed. Make sure docs/ is not in .gitignore (many R project templates add it by default). Then commit and push:
git add docs worker app.R package.json
git commit -m "Initial deploy"
git push
In the GitHub repository, open Settings → Pages. Under Build and deployment, set the source to the main branch and /docs folder. After about a minute the site is live at:
https://<your-username>.github.io/<repo-name>/
Troubleshooting
| Symptom | Fix |
|---|---|
| CORS error in the browser console | ALLOWED_ORIGIN in worker/wrangler.toml does not exactly match your Pages origin. Fix it and re-run npm run worker:deploy. |
401 Unauthorized from the Worker |
The SHARED_SECRET in app.R does not match the one set with wrangler secret put. Re-set both, re-export, re-push. |
Missing SQL_TABLE_DB D1 binding |
database_id in worker/wrangler.toml is wrong or empty. Fix and re-deploy. |
| Local site loads but Add does nothing | The local Worker is not running. Start it with npm run worker:dev. |